
Introduction to Installing Software on Mac
Installing software on a Mac can feel like navigating through a maze, especially if you’re new to the Apple ecosystem. Whether you’re setting up your favorite productivity tools or diving into the latest creative applications, understanding how to install software properly is essential for maximizing your Mac experience.
In this guide, we’ll break down everything you need to know about installing software on your Mac with ease and confidence. From recognizing different types of software to troubleshooting common issues, we’ve got you covered. So grab your Mac and let’s get started!
Understanding the Different Types of Software
When navigating the world of software on a Mac, it’s essential to recognize the various types available. Each type serves a unique purpose and can enhance your computing experience in different ways.
Applications are programs designed for specific tasks, whether it be word processing or graphic design. These can be found through the App Store or developed by third parties.
System software is another crucial category. This includes macOS itself and utility programs that help manage hardware components and resources.
Then there are web applications, which run directly from your browser. They require no installation but depend heavily on an internet connection.
Don’t overlook utilities either—these tools optimize system performance or provide additional features like file management and security enhancements. Understanding these categories helps streamline the process of selecting what you need for your Mac setup.
Step-by-Step Guide to Installing Software on Mac
Installing software on your Mac can be straightforward when you know the steps. First, always check the system requirements. This ensures compatibility and prevents unnecessary headaches.
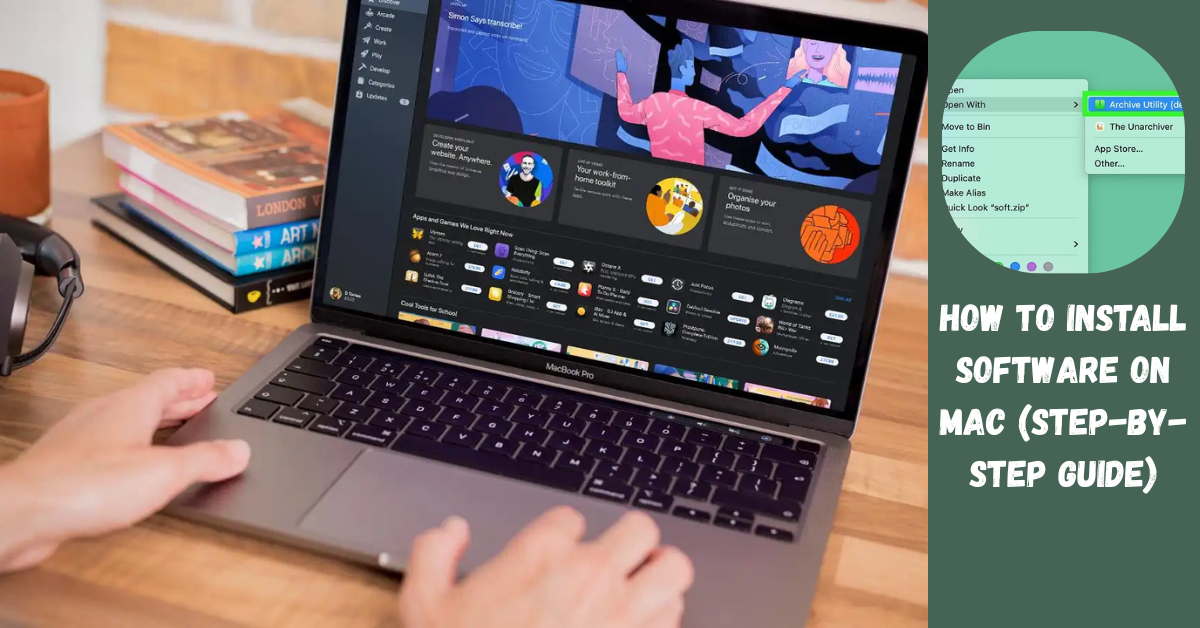
For many applications, downloading from the App Store is a breeze. Just open the App Store, search for your desired application, and hit “Get.” It automatically installs after downloading.
If you’re working with a .dmg file, double-click it to mount it. You’ll see a window that typically contains an app icon and possibly a shortcut to your Applications folder. Drag the app icon into this folder; it’s that simple.
For those who prefer command-line tools or need advanced installations, Terminal offers powerful options for seasoned users. Be cautious here; commands must be entered accurately to avoid issues.
Different methods suit different needs, so pick what feels best for you as you navigate installing software on your Mac!
– Checking System Requirements
Before diving into the installation process, it’s crucial to check the system requirements for the software you intend to install. Each application has specific needs that ensure optimal performance.
Start by visiting the software’s official website or store page. Here, you’ll find details regarding CPU type, RAM size, and available storage space.
Make sure your Mac meets these specifications to avoid any hiccups during installation. If you’re running an older version of macOS, compatibility may also be a concern.
Keep in mind that some applications require additional components like graphics drivers or special frameworks. Not every app will work seamlessly on all versions of macOS.
Taking a moment to verify these requirements can save you from headaches later on. You’ll enjoy smoother performance when everything aligns perfectly with your device’s capabilities.
– Downloading from the App Store
The App Store is a user-friendly platform that makes downloading software on your Mac effortless. With a vast array of applications available, you can find everything from productivity tools to creative software.
To start, simply open the App Store from your Dock or Applications folder. The interface is intuitive and visually appealing, offering categories and recommendations tailored to your preferences.
Once you locate an application you’d like to download, click on it for more details. You’ll see reviews, screenshots, and system requirements—information that helps ensure compatibility with your Mac.
When you’re ready to proceed, hit the “Get” button if it’s free or select the price if it’s a paid app. After entering your Apple ID password or using Touch ID, watch as the progress bar fills up during installation. Shortly after completion, you’ll find the new app nestled in your Applications folder and ready for use.
– Installing from a Disk Image (.dmg) File
Installing software from a Disk Image (.dmg) file is straightforward. First, locate the downloaded .dmg file in your Downloads folder or wherever you saved it.
Double-click on the .dmg file to mount it. This action opens a new window displaying the contents of the disk image.
Inside, you’ll typically see an application icon and sometimes a shortcut to your Applications folder. Simply drag the application icon to this folder. This step copies the software onto your Mac, making it easily accessible.
Once you’ve dragged it over, eject the disk image by clicking on its mounted icon and selecting “Eject.”
You can now find your newly installed app in the Applications directory and launch it as needed! If prompted for permissions when launching for the first time, simply follow those instructions to get started without any hiccups.
– Using Terminal for Advanced Installation
Using Terminal can be a game-changer for installing software on your Mac, especially if you enjoy a more hands-on approach. It provides you with powerful command-line tools that allow for greater control.
To start, open the Terminal application from your Utilities folder. This will give you access to various commands and scripts needed for installation.
If you’re familiar with package managers like Homebrew, this is where they shine. Just type the command `brew install [package_name]`, replacing `[package_name]` with what you want to install. The process is usually quick and efficient.
For software not available through package managers, downloading the installer via curl or wget might be necessary. Entering these commands correctly ensures smooth installations without any hassle.
Remember, using Terminal requires precision; one wrong character can lead to errors in the installation process. A little practice goes a long way here!
Troubleshooting Common Installation Issues
Encountering issues during software installation on your Mac can be frustrating. However, many common problems have straightforward solutions.
First, check your internet connection. A weak or unstable network can disrupt downloads from the App Store or other websites.
If a download stalls or fails, try restarting both your Mac and the router to refresh connections.
Next, ensure that macOS is up to date. Sometimes compatibility issues arise when you’re using an outdated version of the operating system.
Permission errors are another frequent hiccup. If prompted for permission during installation, make sure you enter the correct administrator password.
If you’re trying to install software from a .dmg file and it won’t open, verify that the file isn’t corrupted by downloading it again from a trusted source.
Addressing these issues promptly will help streamline your software installation experience on Mac.
Tips for Managing and Uninstalling Software on Mac
Managing software on your Mac can keep your system running smoothly. Regularly review installed applications to determine what you truly need. Unused programs can clutter your device and slow it down.
When it’s time to uninstall, simply drag the application from the Applications folder to the Trash. For more stubborn apps, consider third-party uninstaller tools that remove associated files left behind.
Organizing your software into folders based on categories—like work, entertainment, or utilities—can help streamline access and improve productivity.
Keep an eye on updates as well; installing the latest versions often fixes bugs and enhances performance. Setting up automatic updates ensures you’re always running optimal software without manual intervention.
Consider using cloud-based alternatives when possible. They save space and allow for easy access across devices while keeping local storage free from excess installations.
Alternative Methods: Using Virtual Machines or Boot Camp
If you’re looking to run software that’s not natively available on macOS, virtual machines and Boot Camp are excellent options. Virtual machines let you create a separate environment within your Mac. With tools like Parallels or VMware Fusion, you can run Windows alongside macOS seamlessly.
Boot Camp offers another route by allowing you to install Windows directly onto your Mac’s hard drive. This method provides better performance for resource-intensive applications, such as games or specialized software.
Both methods have their pros and cons. Virtual machines are convenient but may suffer from slower speeds for demanding tasks. On the other hand, Boot Camp requires a reboot to switch operating systems but allows full access to hardware resources.
Choosing between these options depends on your needs and the type of software you’re installing. Each has its place in maximizing what you can do with your Mac while keeping it versatile.
Conclusion:
Installing software on a Mac can seem daunting at first, but it’s a straightforward process once you understand the different methods available. Whether you’re downloading directly from the App Store or using a disk image file, knowing how to install and manage your applications is essential for getting the most out of your device.
Remember to check system requirements before installing new software. It ensures compatibility and smooth performance. If you encounter any issues during installation, troubleshooting common problems can save you time and frustration.
Managing your applications effectively will help maintain optimal performance on your Mac. Regularly uninstalling unused apps frees up space and resources. For those looking for alternative methods like virtual machines or Boot Camp, explore these options if they suit your needs better.
Embracing these techniques will enhance your experience with macOS, allowing you to maximize productivity while enjoying everything that Apple has to offer.